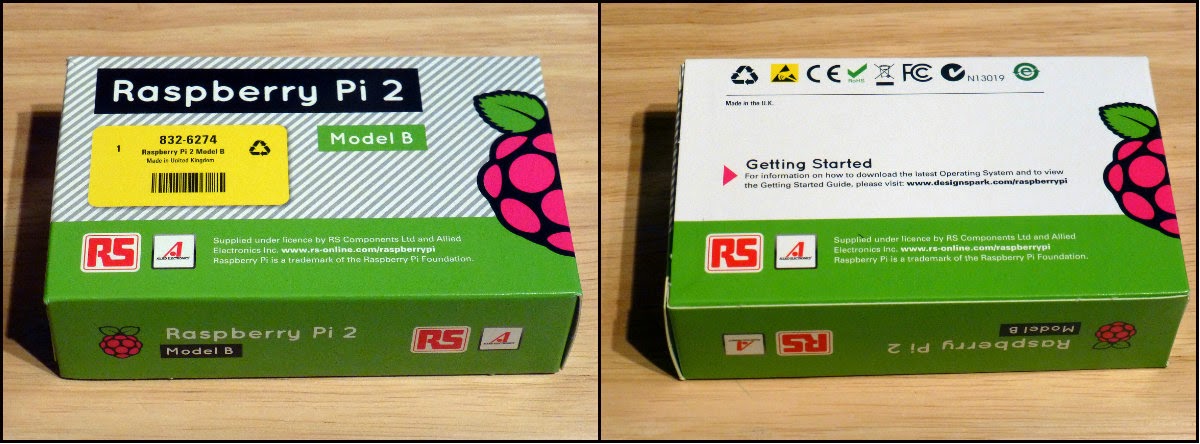
Introducing the Spectrum ZX 3.14 (ZX+Pi)
This is how Clive Sinclair should have designed the ZX Spectrum of the future.

After a bit of grovelling and offering to do some more cooking my other half agreed to let me use one of his spare ZX Spectrums.
I wanted to use a keyboard but have no way of using the original Spectrum keys so I was going to have to go for something a bit drastic and remove these original keys and replace it with another keyboard preferable Bluetooth.
The main thing was to be able to find a keyboard that will be small enough to fit inside this Spectrum Case with enough room left over to squeeze in the Raspberry PI etc.

So after some Googling and reviewing I discovered the perfect size Bluetooth keyboard + mouse that would replace the old Spectrum's keys. So knowing this was going to take some brutality with a Dremel I did some more groveling... as my other half is a whizz with this and I know he would do a fab job on removing the keyboard as its solid plastic and could easily crack with the wrong pressure etc; and then Ive not only ruined my plans but a 31 year old case...eeep.

Keys removed from the case leaving the key framework underneath.

With a bit of fun along the way.

This took alot of time and careful etching and Dremeling to grind out this solid plastic keyboard. My other half made such a neat job, don't you think...thank you huny XxX.
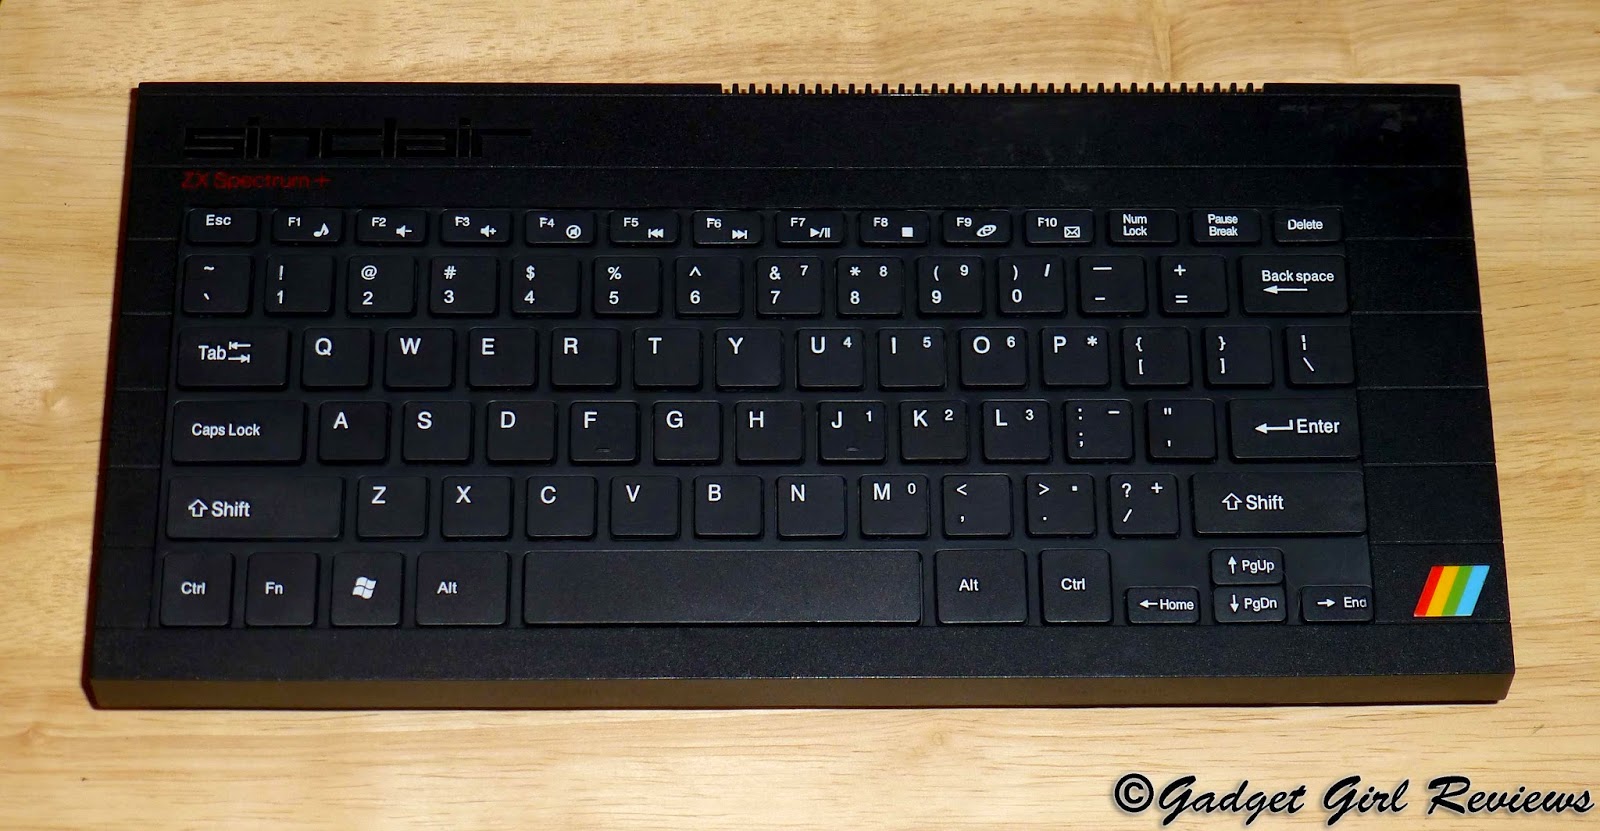
Just look at how gorgeous the new Bluetooth keyboard fits into the newly ground out space; its as though it came out the factory like this.
This is how the ZX Spectrum should have looked...Im just in awe at how beautiful it looks.

Underneath its attached by Fixit bonding putty and the "original" keyboard clips.

A black blutak-esk type putty that gives you approx 15mins to play and get it into place before it sets rock hard; perfect to secure the keyboard inside the case.

While doing the case I made a Raspberry order or mini PI haul,
From left to right;
Raspberry PI GPIO Breakout board with paddle terminals.
2 x tank tracks and wheels+motors (future project).
Adafruit 2.8" LCD screen.
5 x Micro switches.
Micro USB.
Note; About the new Adafruit touch screen above as much as it was the perfect size; it needed to sit on top of the PI not enough space for inside this case inclusive of keyboard. So I have returned this one in replacement for a nice and easy USB Touchscreen (seen below on the latest image - The DFRobot touch display screen on order). This new version came out the week I bought this mini haul, it seems so much more polished and looks so much nicer...sorry Adafruit.

Included into the haul was an extra pressie from my other half.

Build a weevil and learn to solder.
He thought Id love this fun little kit to get me started as Ive never soldered before; so rather I kill off a weevil than my new PI...eeep!
Looking forward to putting this together...Ill add a video of how I do later on...I'm sure that will be exciting lol!

So where am I so far...well take a look at the image above...the bottom section of the case sits underneath the keyboard and as you can see everything squeezes in nicely.
The DFRobot touch display screen may fit where you see the white square in the image above; Im waiting for this to arrive and cant wait to see it, it has a great design and look to it.
Next to the screen will be the Raspberry PI attached by the Raspberry PI GPIO Breakout board with paddle terminals...note we chose this rainbow colour as it corresponds to the Spectrum rainbow logo...just a little thing but it blends Raspberry and Spectrum together a bit more don't you think.
I am now on the lookout for a rechargeable power-pack that puts out 5v/2A and will fit, I have my eye set on one that will possibly be able to charge and power at the same time like a UPS. (Uninterruptible Power Supply).
I am now on the lookout for a rechargeable power-pack that puts out 5v/2A and will fit, I have my eye set on one that will possibly be able to charge and power at the same time like a UPS. (Uninterruptible Power Supply).

So what do you think of the new invented Spectrum ZX so far the new keyboard gives a sexier edge to the original. But still keeping the gorgeous vintage Speccy feel to it.
No ZX Spectrum's were harmed in the making of the new ZX 3.14 ..okay maybe the keys, but they are looking for new homes...so if you need any spare keys for your ZX Spectrum contact me!
p.s All the G's are gone ;-)
p.s All the G's are gone ;-)
Project PI #1 Introduction.
Project PI #2 Choosing the case.
Project PI #3 Introducing the new ZX 3.14.
Project PI #4 The Build
Project PI #5 Finished Build
New PI Project idea coming soon...something fun....teaser.